
Are you ready to build one of the best value gaming PCs out there? If you’re looking for a budget-friendly yet powerful gaming rig, you’re in the right place. Today, we’re diving into a build featuring the brand-new Intel Arc B580 GPU, a card that aims to challenge Nvidia and AMD in the budget gaming space. In this guide, we’ll walk you through everything you need to know to build this PC, from selecting the right components to putting it all together. Plus, we’ll show you how this Intel Arc GPU performs in real-world gaming scenarios. Let’s get started!
Why Choose the Intel Arc B580?
The Intel Arc B580 is a game-changer for budget-conscious gamers. Priced at around $250, this GPU promises to outperform competitors like the RTX 4060 in both traditional rasterization and ray tracing performance. But is it worth your hard-earned cash? We’ll find out as we put it through its paces in this build.
The Components: Building on a Budget
To keep costs low, we’ve carefully selected components that offer the best bang for your buck. Here’s what you’ll need:
- CPU: Intel Core i5-12400F
- A 6-core, 12-thread processor that delivers excellent performance for gaming without breaking the bank. It’s not the latest Ryzen, but it offers incredible value for the price.
- Motherboard: MSI Pro H610M-E
- This micro-ATX motherboard is as basic as it gets, but it gets the job done. It supports DDR4 RAM and PCIe 4.0, making it a solid choice for budget builds. Just don’t expect any fancy features like RGB headers or Wi-Fi.
- RAM: Corsair Vengeance LPX 16GB DDR4
- 16GB of DDR4 RAM is plenty for most games, though we recommend upgrading to 32GB if you plan on playing more demanding titles or multitasking heavily.
- Storage: Acer FA200 1TB PCIe 4.0 SSD
- This SSD offers fast load times and plenty of storage for your games and files. It’s not the fastest drive on the market, but it’s more than enough for a budget build.
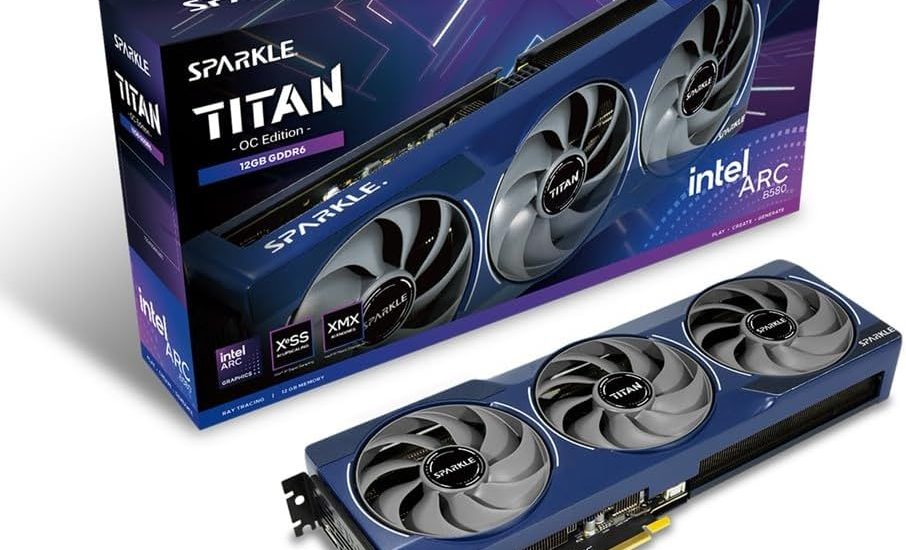
- GPU: Intel Arc B580
- The star of the show. This GPU is designed to deliver high-performance gaming at 1440p, and it even supports ray tracing. We’ll see how it holds up in our benchmarks.
- Case: Corsair 3500 Series
- A budget-friendly case with tempered glass panels on the front and side. It offers decent airflow and enough space for your components, though cable management can be a bit tricky.
- Power Supply: 650W Non-Modular PSU
- A 650W power supply is more than enough for this build, and it leaves room for future upgrades. Non-modular units are cheaper, but you’ll have to deal with extra cables.
- Cooling: Cooler Master Hyper 212
- While the stock cooler that comes with the CPU is sufficient, we recommend upgrading to an aftermarket cooler like the Hyper 212 for better thermals and quieter operation.
Step-by-Step Build Guide
- Install the CPU: Start by carefully placing the Intel Core i5-12400F into the motherboard’s socket. Make sure to align the notches and gently lower the retention arm to secure it in place.
- Mount the Cooler: If you’re using the stock cooler, attach it using the provided brackets. For better cooling, install the Hyper 212 by attaching the backplate and securing the cooler with screws.
- Install the SSD: Remove the tiny screw from the motherboard’s M.2 slot and insert the Acer FA200 SSD. Secure it with the screw and ensure it’s properly seated.
- Insert the RAM: Place the Corsair Vengeance LPX sticks into the DIMM slots. Make sure they click into place. Remember, this motherboard only has two RAM slots, so plan your upgrades accordingly.
- Prepare the Case: Remove the side panels and install the I/O shield. Then, carefully place the motherboard into the case and secure it with screws.
- Install the Power Supply: Slide the 650W PSU into the case and secure it with screws. Connect the necessary cables to the motherboard, CPU, and GPU.
- Install the GPU: Remove the PCIe slot covers from the case and insert the Intel Arc B580 into the PCIe slot. Secure it with screws and connect the power cables.
- Cable Management: Route the cables neatly to ensure good airflow and a clean look. While this case doesn’t have the best cable management options, you can still make it work with some effort.
Gaming Benchmarks: How Does It Perform?
Now that the build is complete, let’s see how it performs in some popular games:
- Fortnite:
- At 1440p in Performance Mode, the Intel Arc B580 delivers around 200 FPS. However, we noticed some stuttering, likely due to the 16GB of RAM. Upgrading to 32GB would help.
- Ghost of Tsushima:
- This game runs smoothly at 1440p, with no noticeable stuttering. The visuals are stunning, and the frame rates are consistently high.
- Horizon Forbidden West:
- At 1440p on High settings, the game runs at around 60 FPS, with occasional dips into the 50s. It’s a solid experience, especially if you have a variable refresh rate monitor.
- Cyberpunk 2077:
- The Intel Arc B580 shines in Cyberpunk 2077, delivering 80-85 FPS at 1440p with XeSS Ultra. Enabling ray tracing drops the frame rate to around 50 FPS, but it’s still playable.
Final Thoughts: Is This Build Worth It?
This budget gaming PC offers incredible value for the price. The Intel Arc B580 is a standout performer, especially at 1440p. While there are some compromises—like the basic motherboard and 16GB of RAM—this build is perfect for gamers who want to get the most out of their money.
If you’re willing to spend a bit more, we recommend upgrading to 32GB of RAM and a better motherboard for future-proofing. But even as it stands, this PC delivers a fantastic gaming experience without breaking the bank.
So, are you ready to build your own budget gaming rig? Let us know in the comments below, and don’t forget to check out the links for the components used in this build. Happy gaming!